Make your own Deep Buttoned Ottoman in 12 easy steps
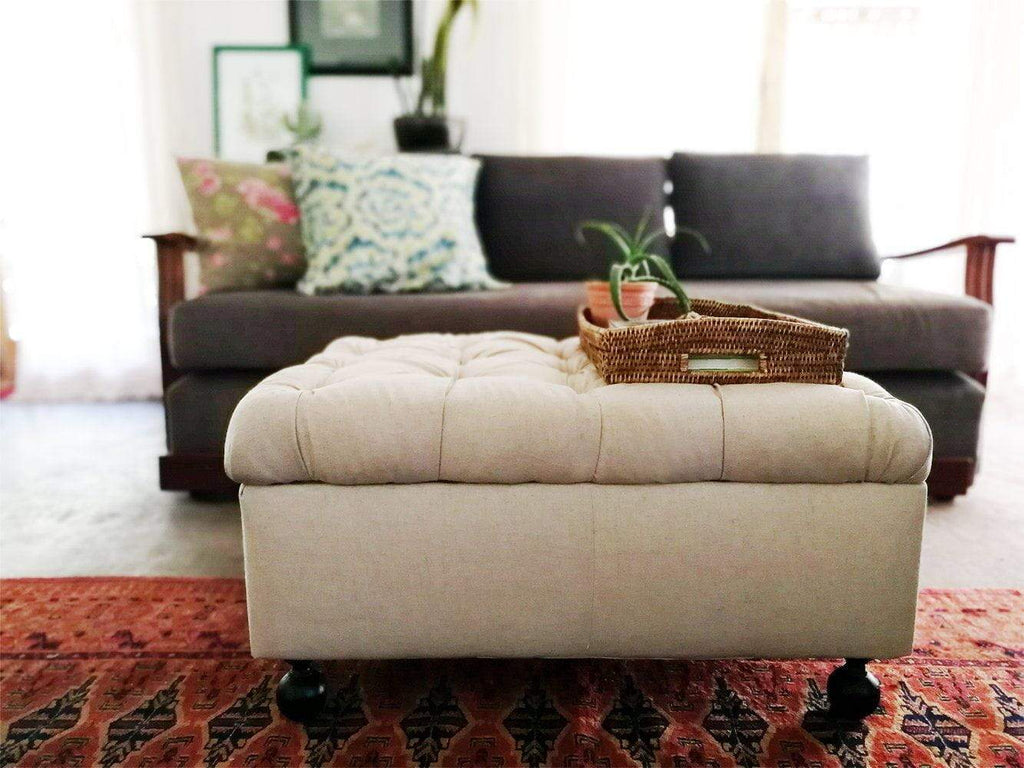
A great way to DIY is to turn something unused and unloved into an item that you cherish. This project, inspired by an ottoman from West Elm, is a very unusual way to repurpose something and the result is amazing! By using an old bookshelf to make an ottoman, you get a functional piece that can not only store books but also doubles as an additional seat. The curtain rod finial feet are a clever and inexpensive way to add pretty detail to your ottoman.
The bookshelf used here is 26” x 33”, but you will need to adjust the material quantities according to your shelf’s dimensions.
You Will Need:
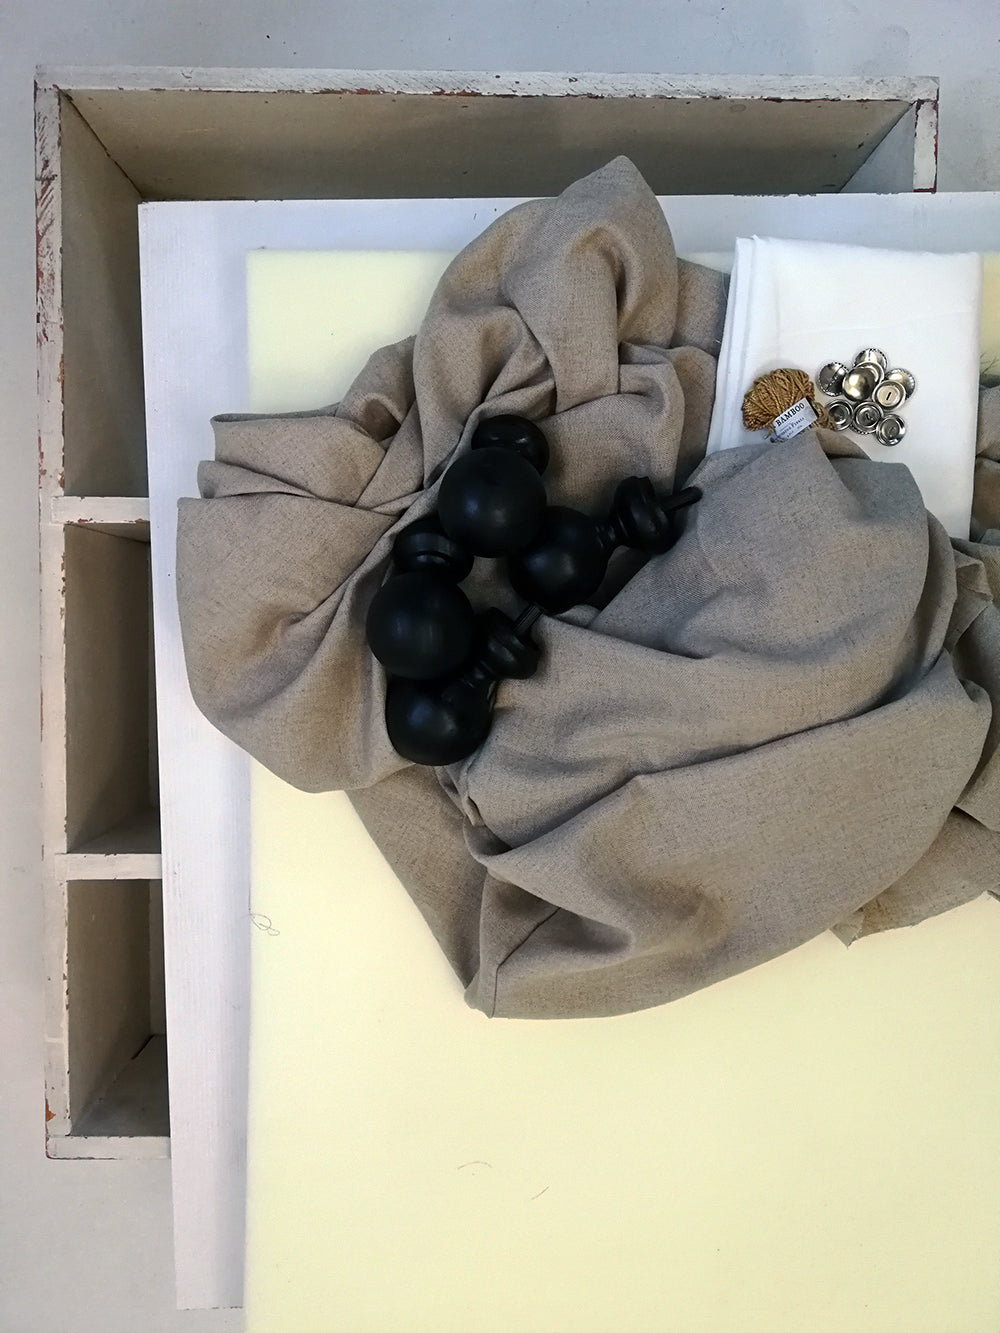
An old bookshelf (for a sturdy ottoman, it’s best to use a bookshelf made out of solid wood and not chipboard)
- 5/8 inch thick chipboard, cut to size (this is for the ottoman lid)
- 3 inch-thick medium density foam, cut to size
- 1-inch coverable buttons (we used 18)
- Upholstery thread
- Wadding to cover the top and sides of the ottoman
- Fabric of your choice (we used about 78” linen)
- Thin cotton lining (we used 55”)
- 4x curtain rod finials to use as feet. You can use regular wooden ball finials or go for more decorative chaucer finials.
- 4x 2”x2” wooden corner blocks to support the feet
- Wooden screws, filler, and touch-up paint.
- 2x 3” brass hinges
You will also need:
- Staple gun and staples
- Extra long upholstery needle
- Electric drill with a variety of wood drill bits
- 1” hole saw bit
STEP 1:
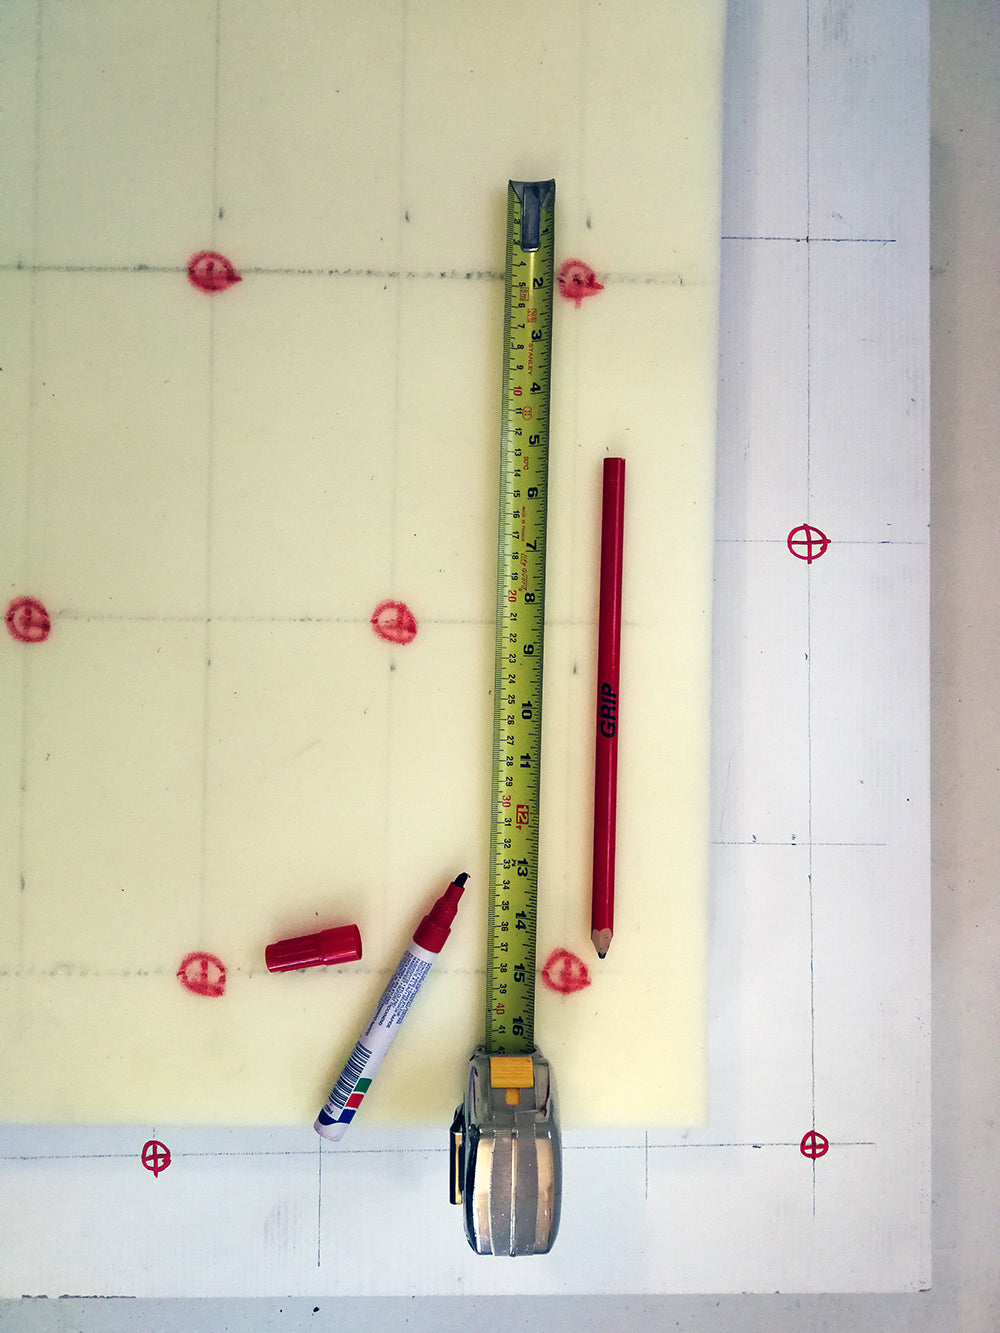
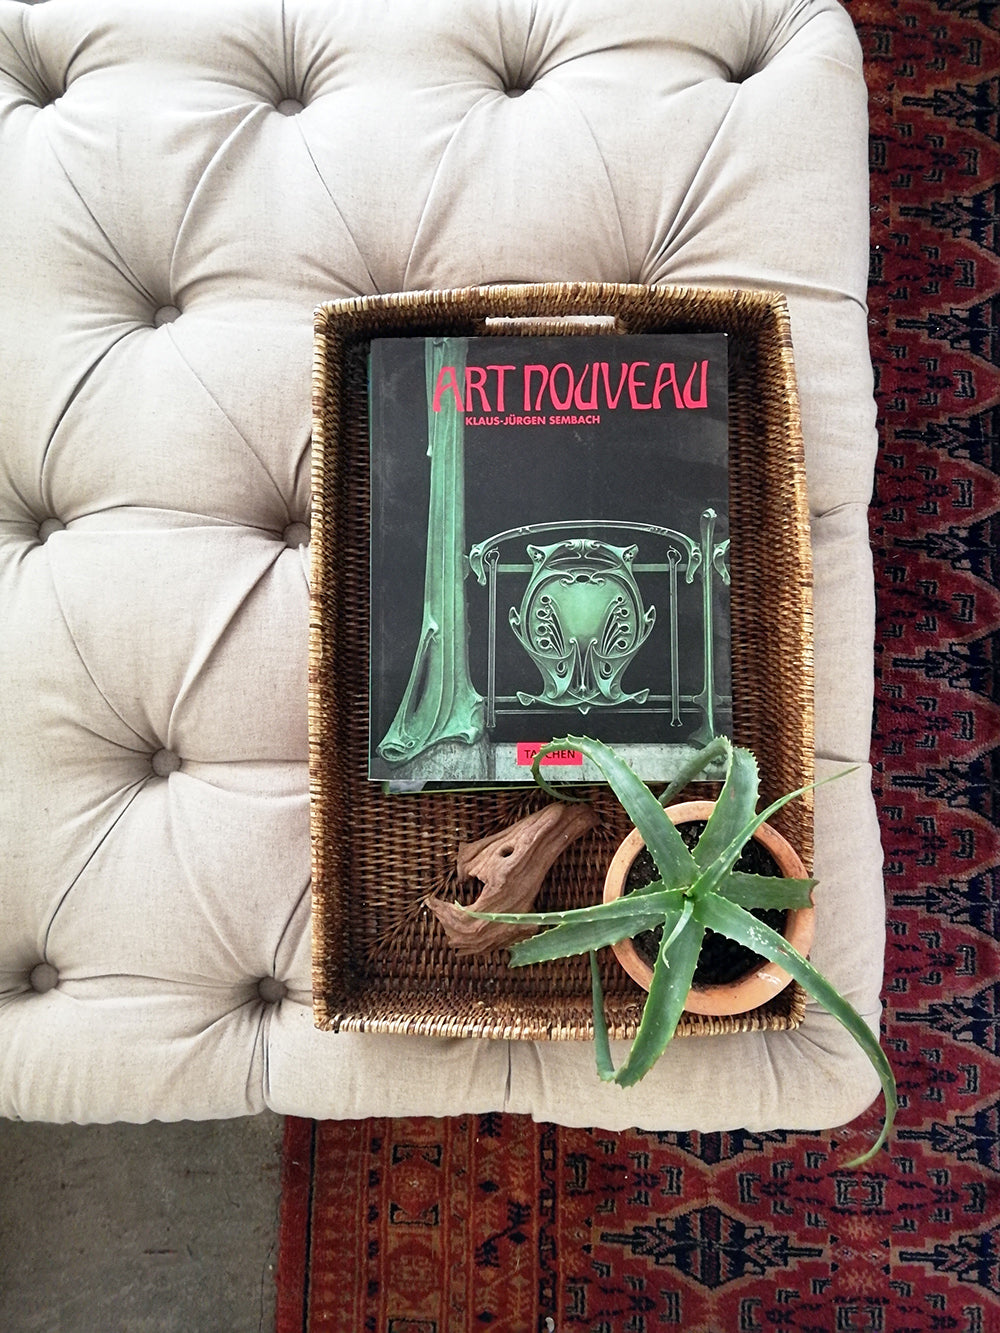
Create a grid and carefully measure it out on both the foam and the chipboard lid. We used a grid of 4 buttons over the length of the lid, and 3 buttons across.
STEP 2:
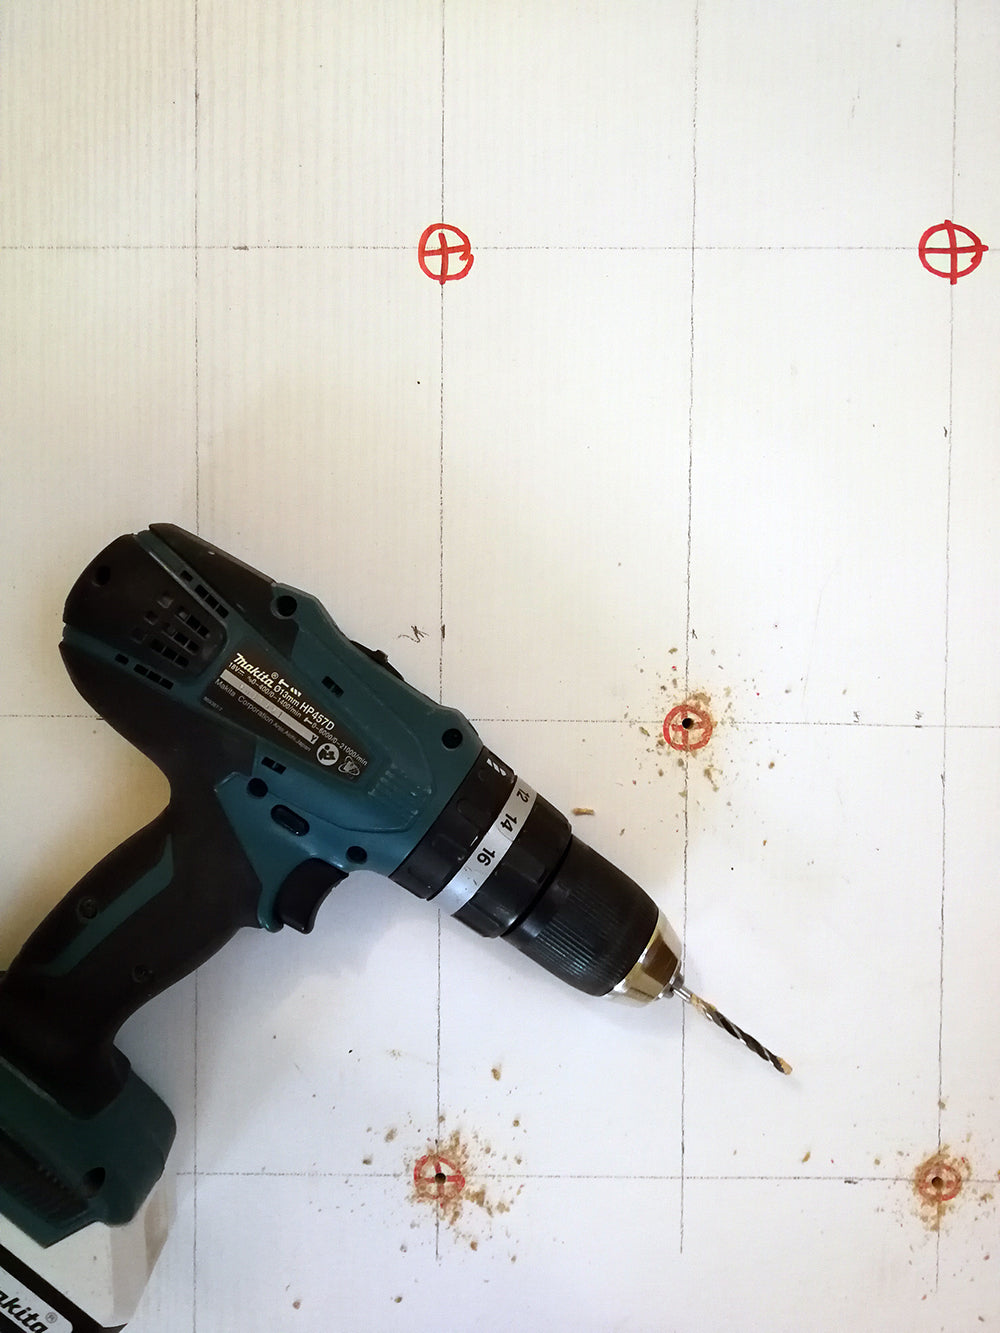
Use 1/8” drill bit to drill holes into the chipboard lid.
STEP 3:
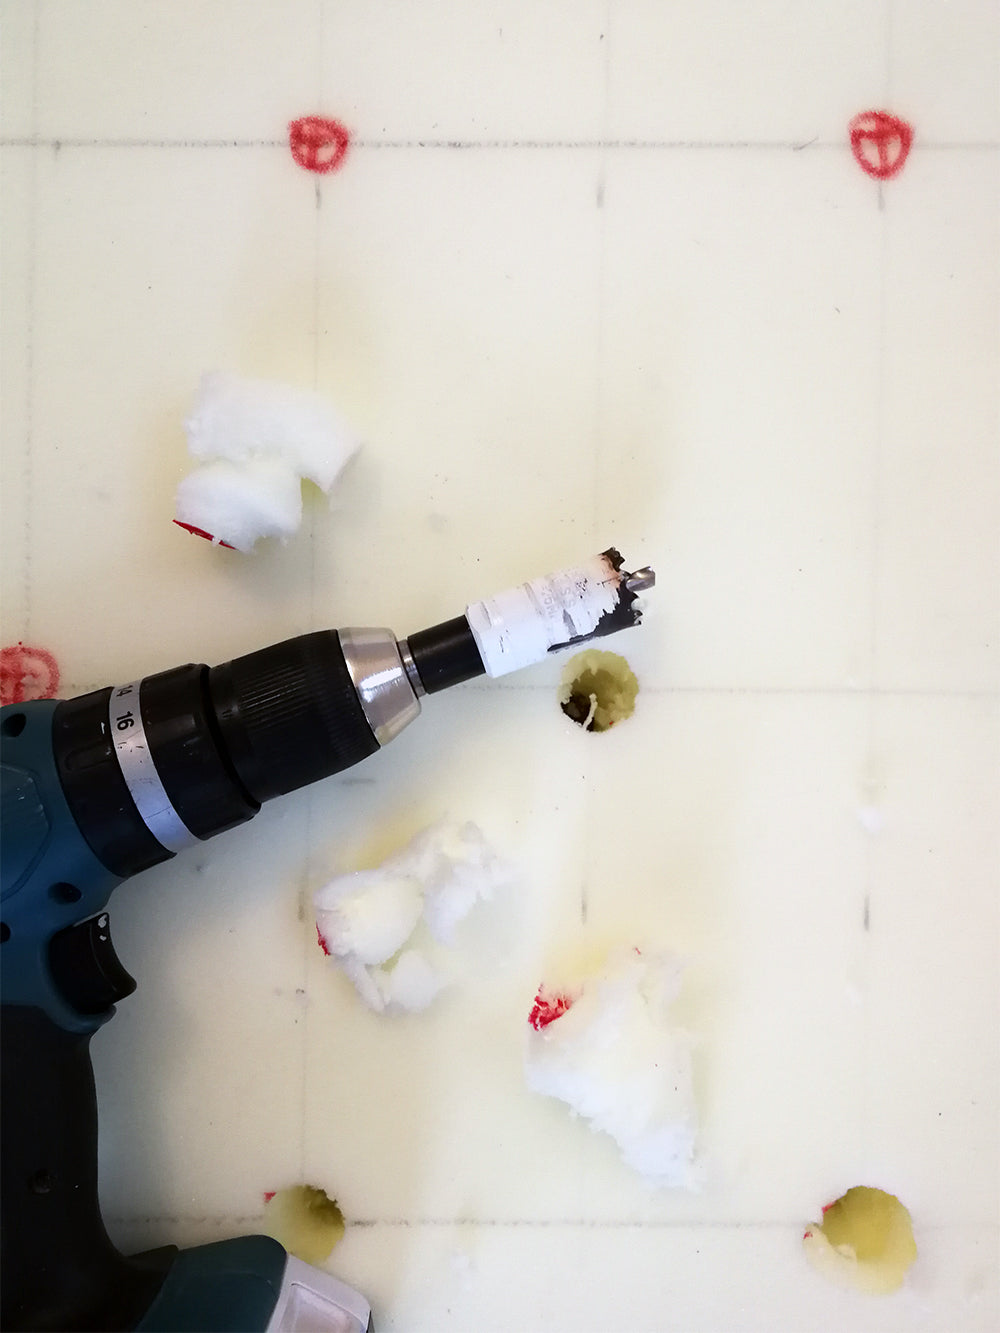
Next, use the hole saw bit to drill holes into the foam carefully.
STEP 4:
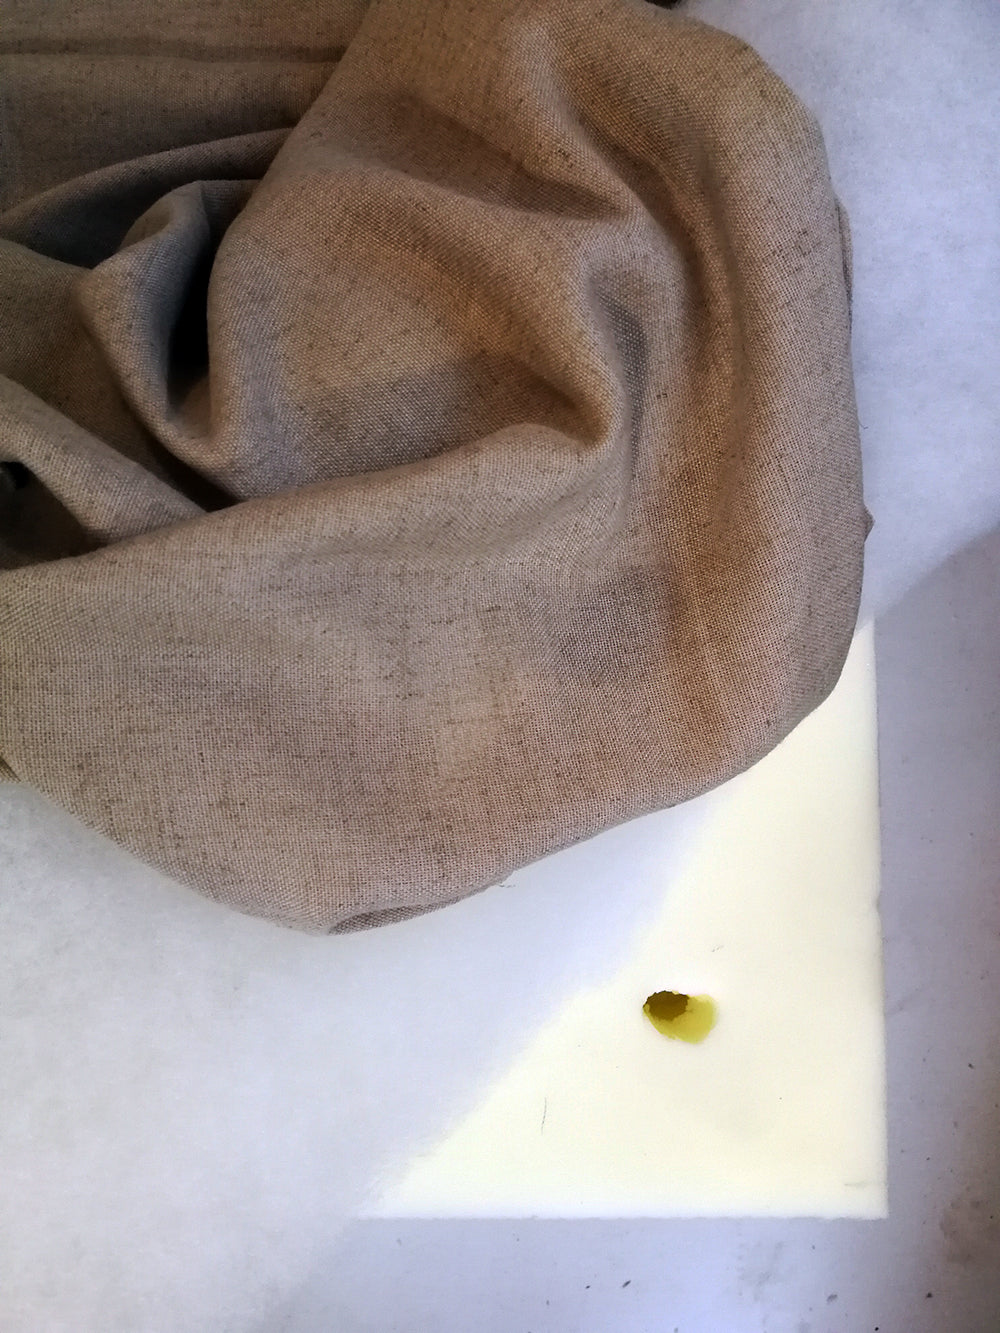
Place the foam onto the chipboard, making sure that the holes line up. Then cover the foam with the wadding and lay over the fabric, taking care that the centre of the fabric is in the centre of the foam.
STEP 5:
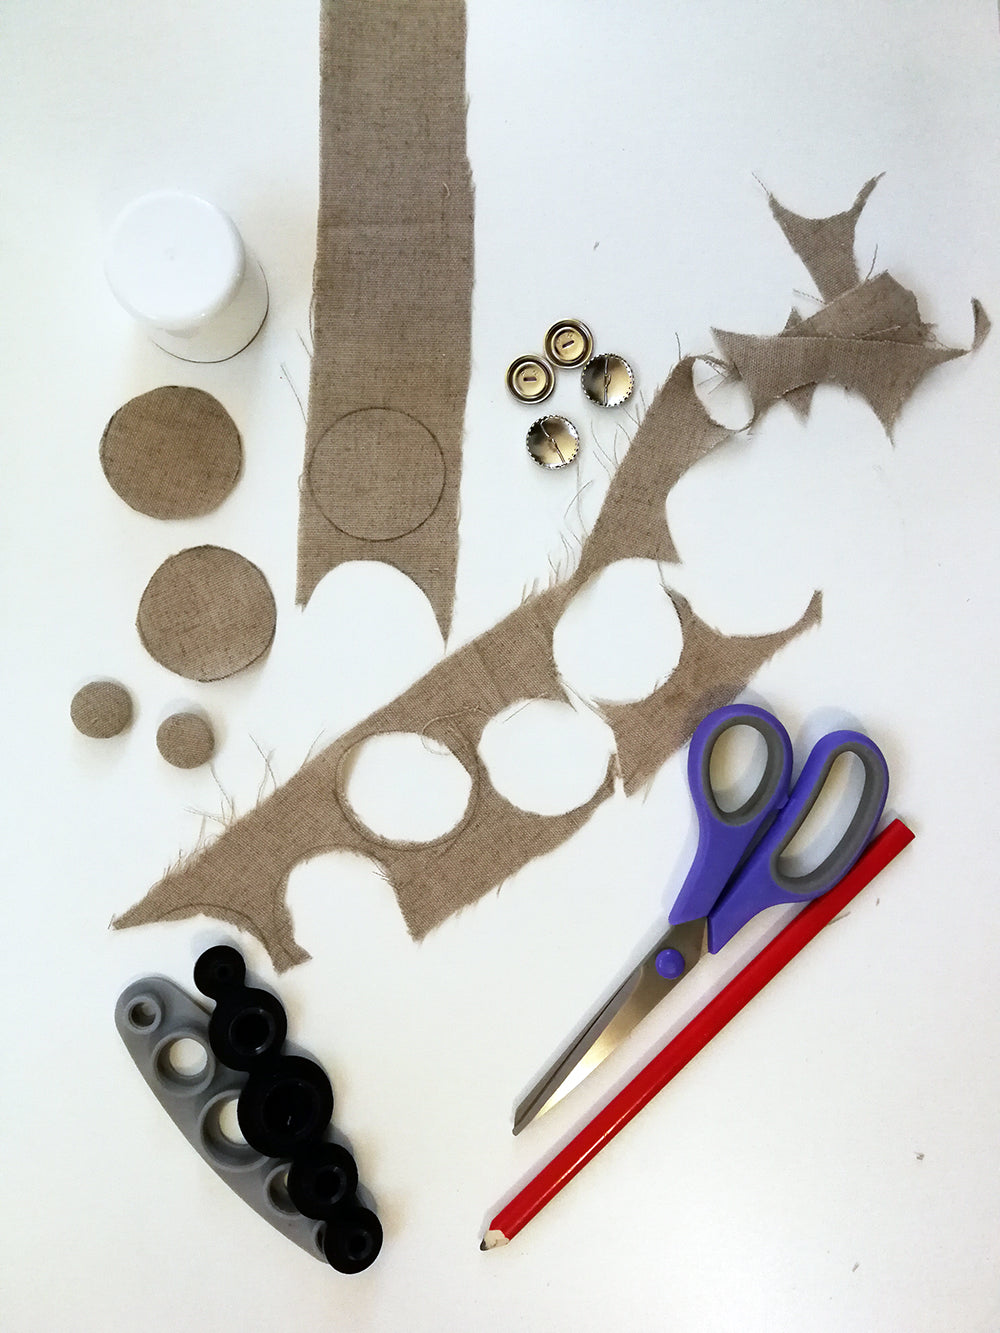
Now you’re ready to start with the buttons! Cover the buttons with your chosen fabric – a button covering tool makes this really easy. The lid of a spray paint canister works perfectly as a template!
STEP 6:
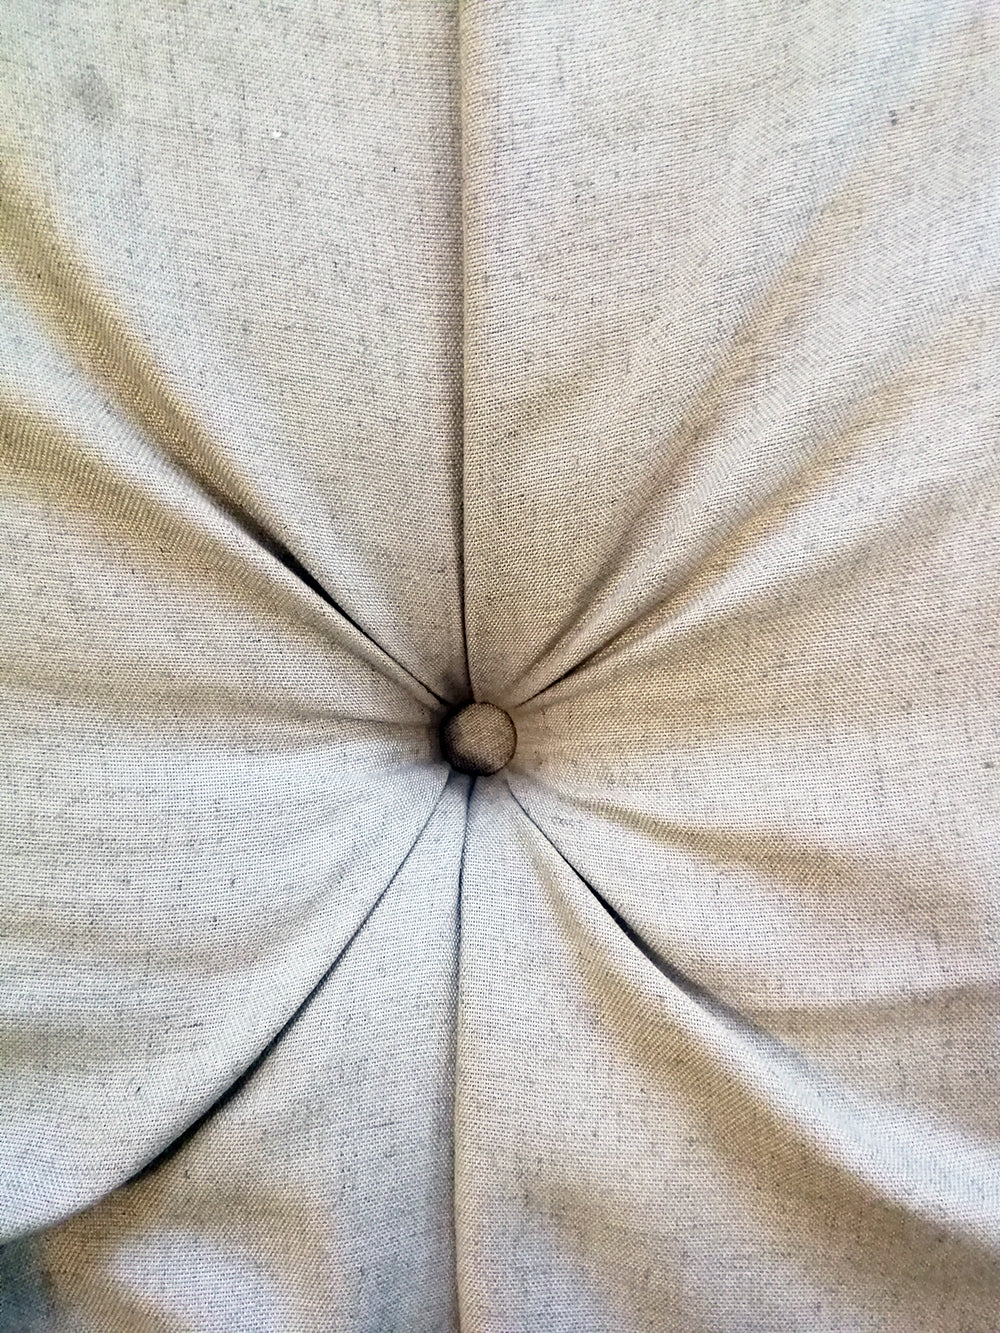
Thread 20” of upholstery thread through each button, and then use your extra long needle to thread the button through the fabric, wadding, foam and lid.
PRO TIP: Start from the central button and work your way outward, finishing with the buttons on the edges.
STEP 7:
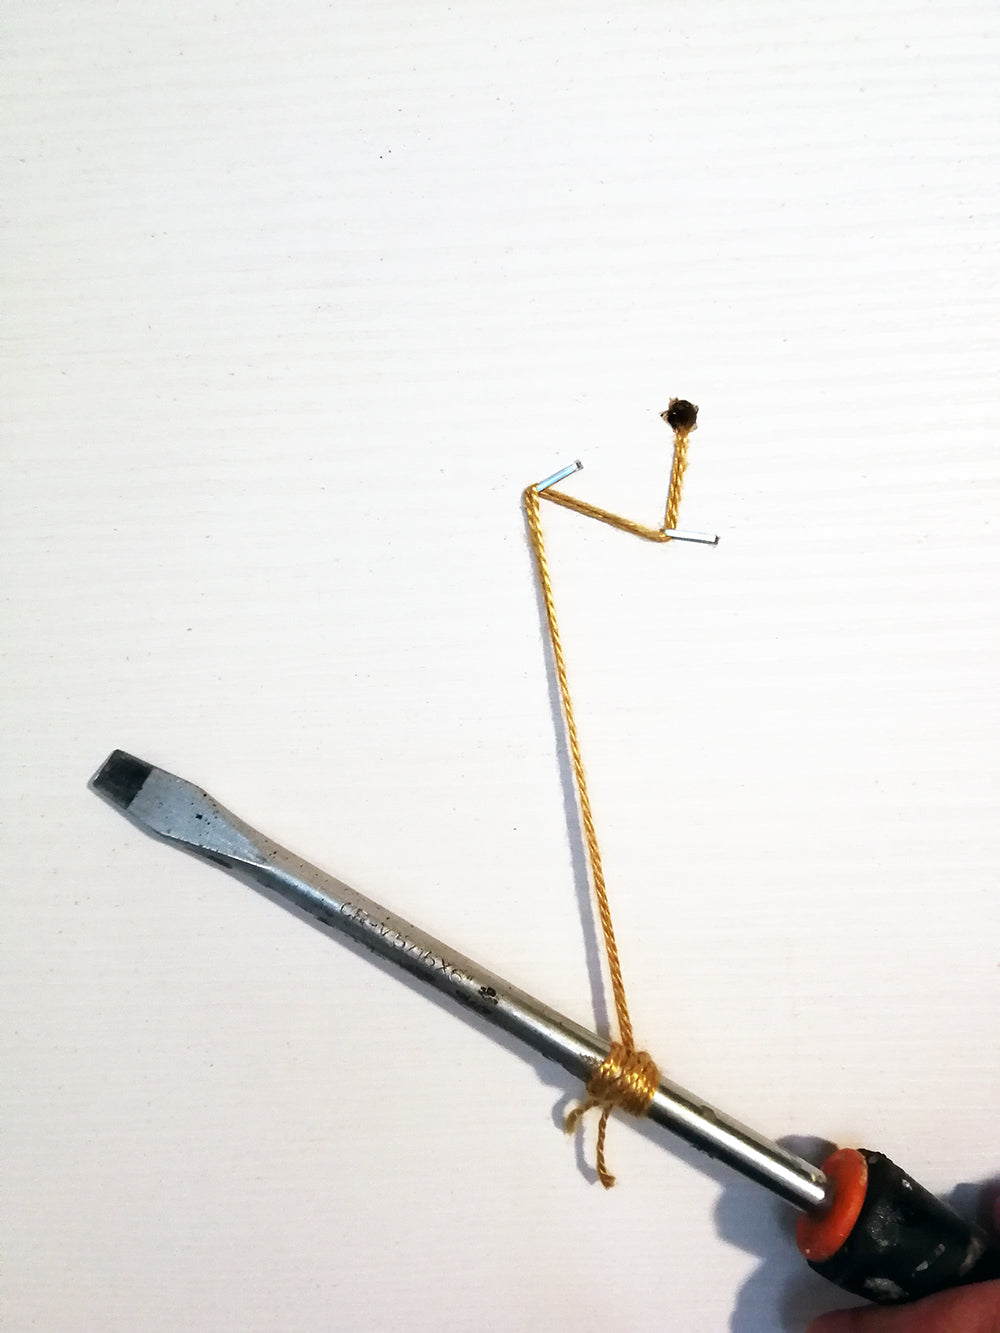
Use a screwdriver to get a better grip on the thread at the back, and pull until you are happy with the depth of the button at the front. Then apply staples in a zig-zag way to secure the thread. Repeat until you have secured all the buttons.
STEP 8:
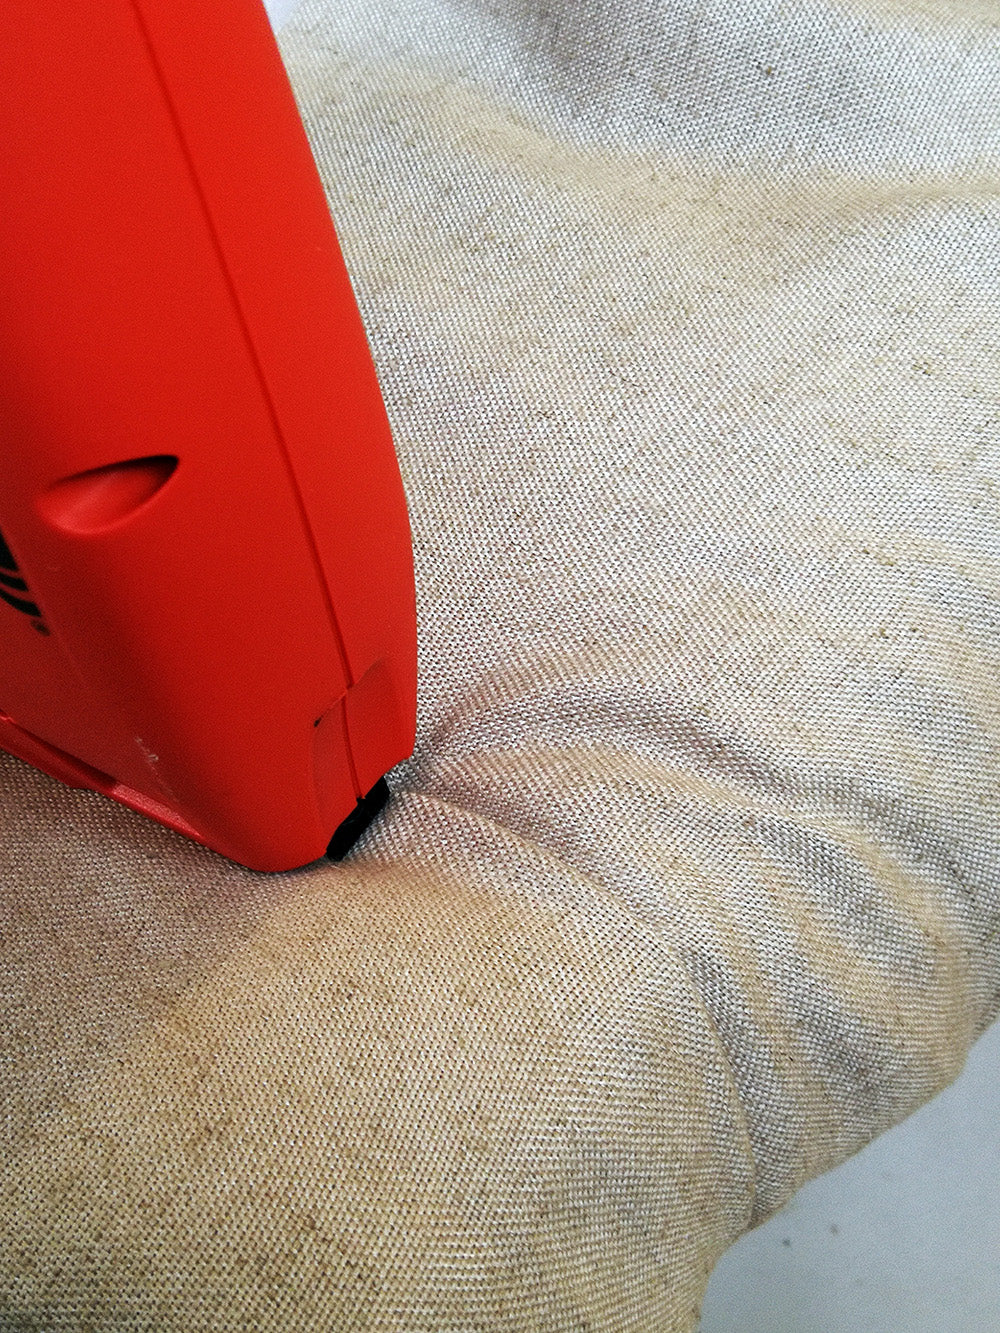
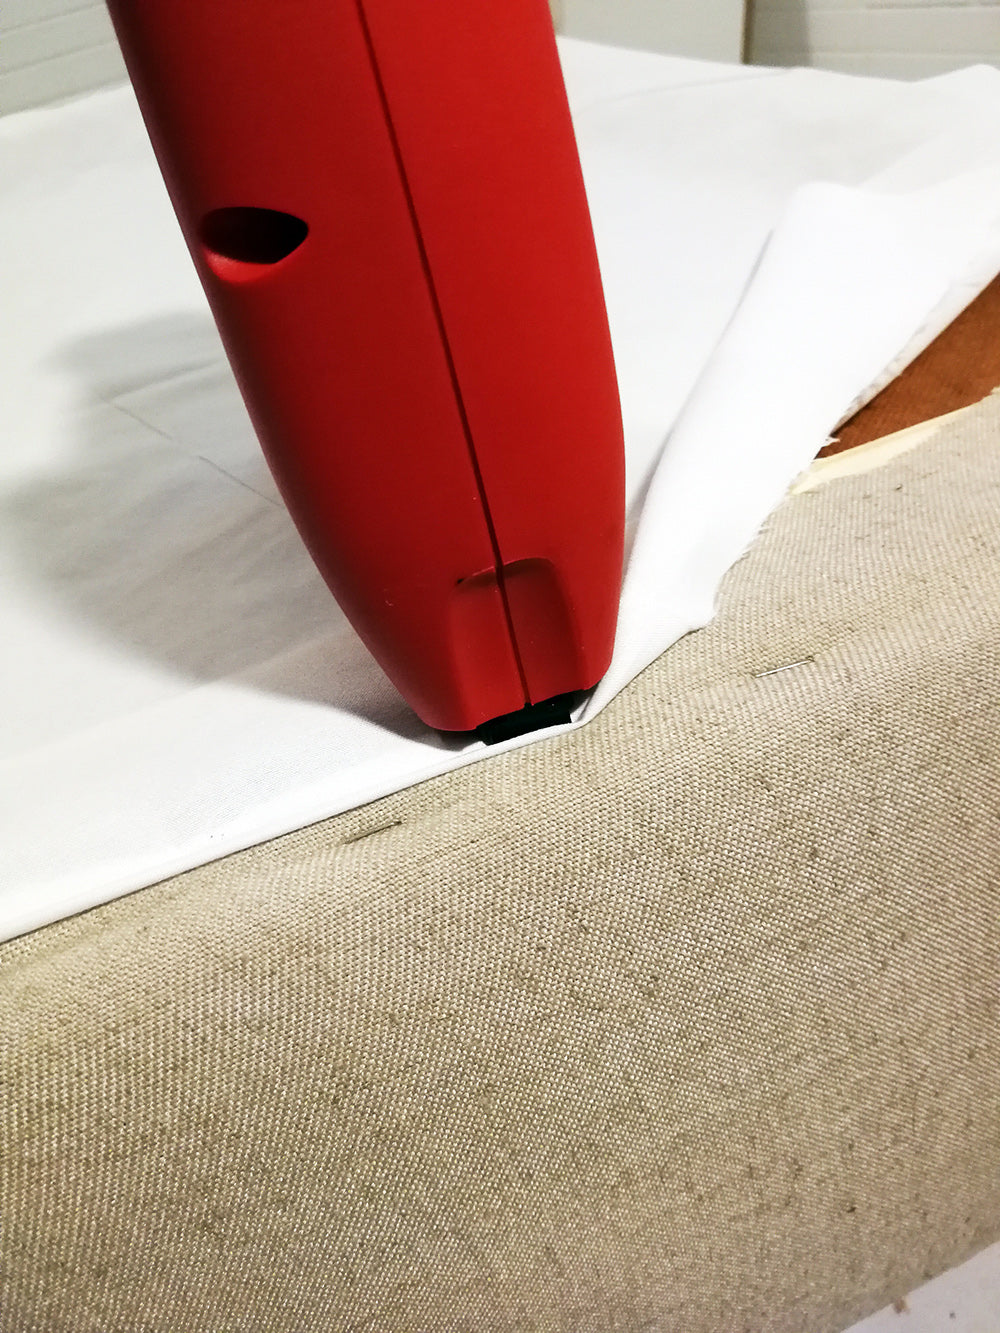
First fix the wadding and then proceed to secure the fabric at the back of the lid. Make sure that you tuck the pleats as you go!
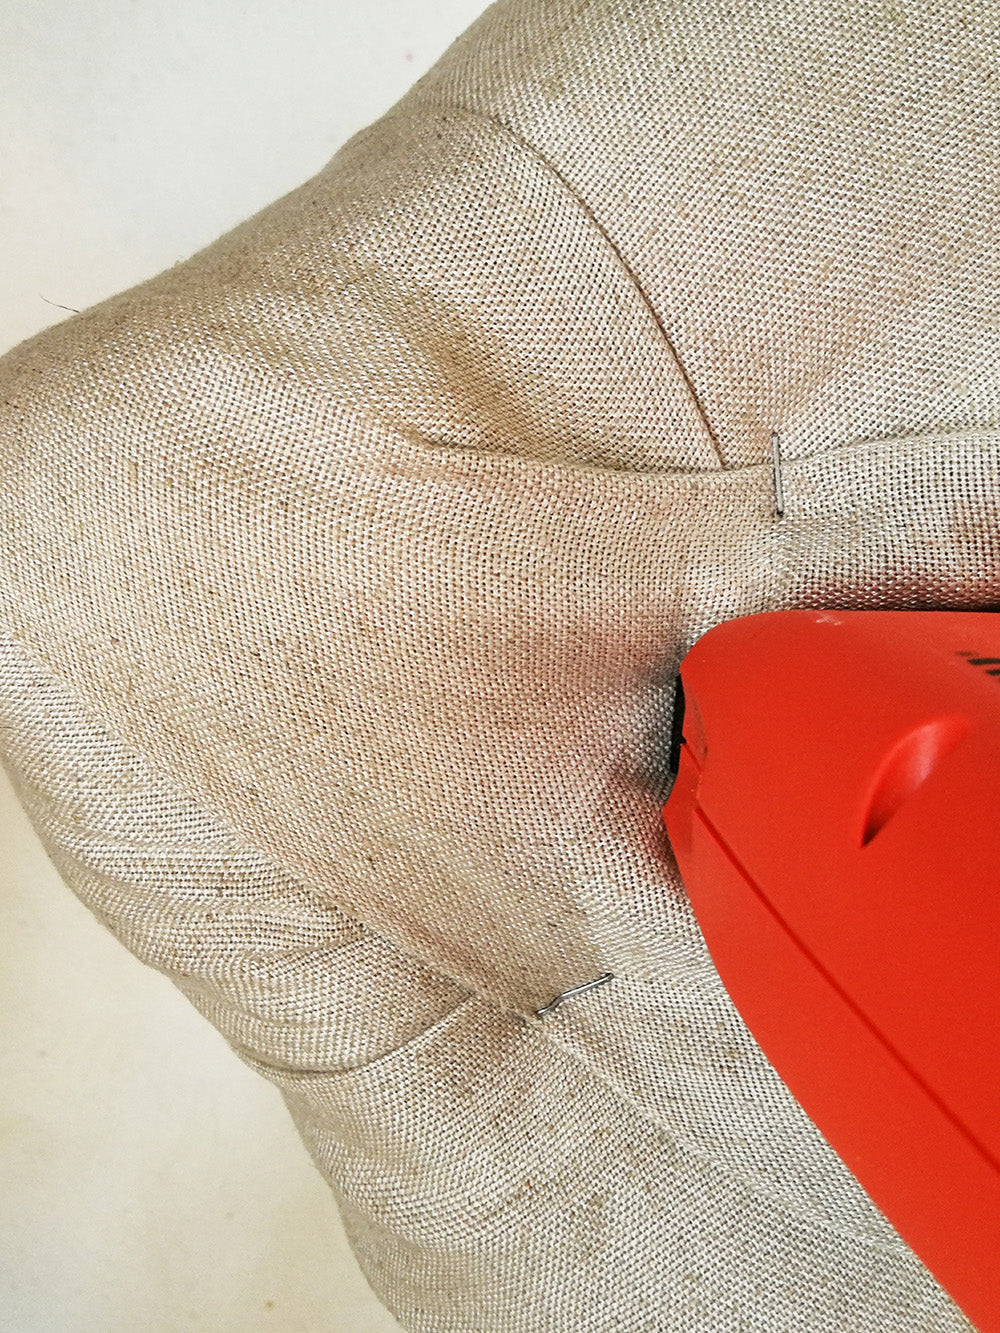
Take special with the pleats around the corners to ensure that they are tight and even.
STEP 9:
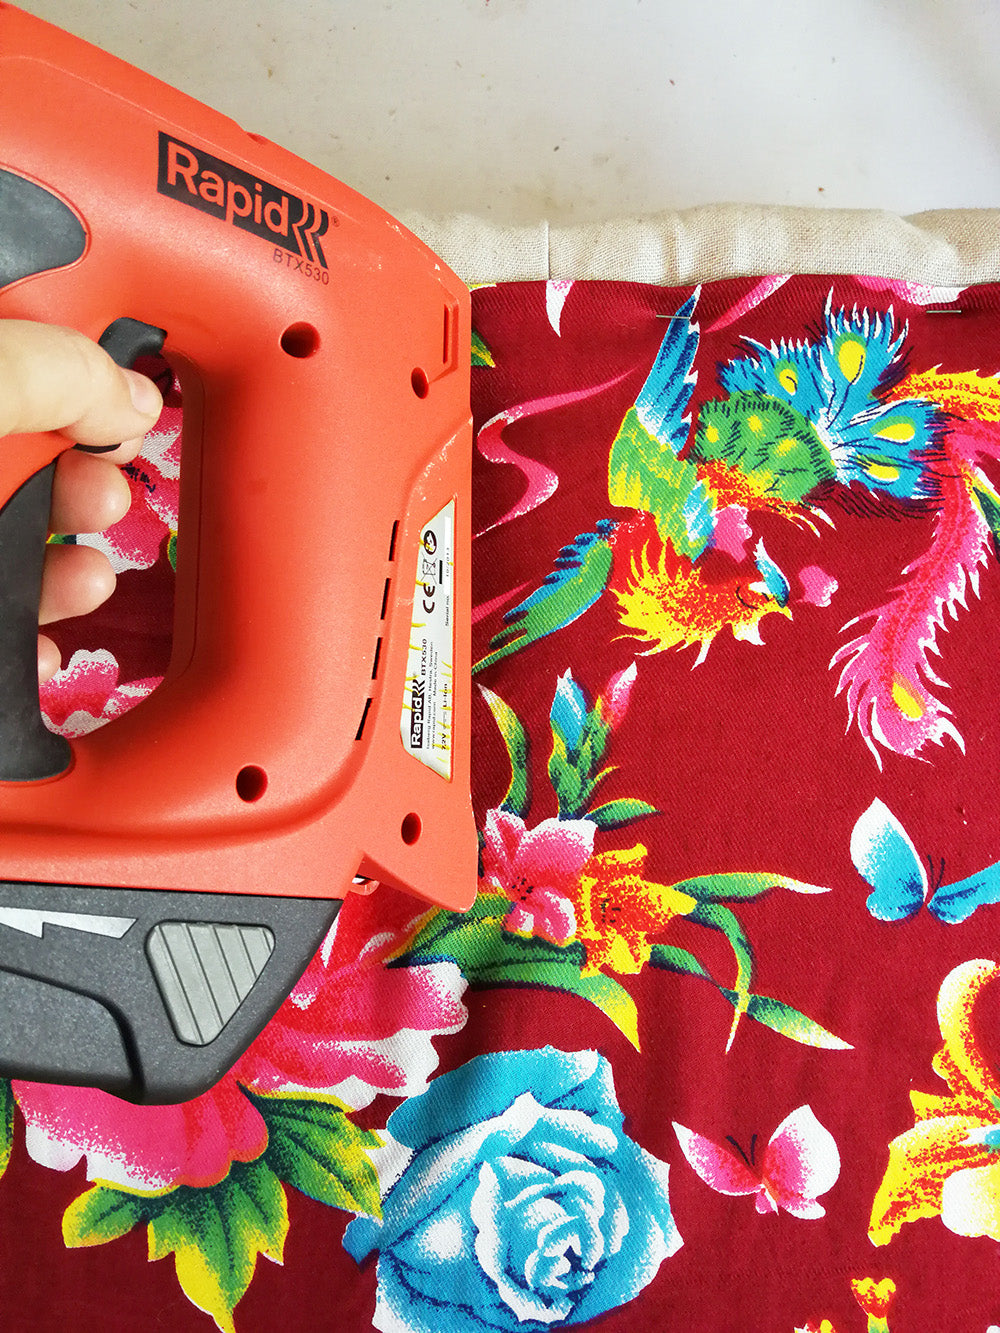
Add a lining to the inside of the lid to finish it off – we used a colourful floral for a fun twist!
STEP 10:
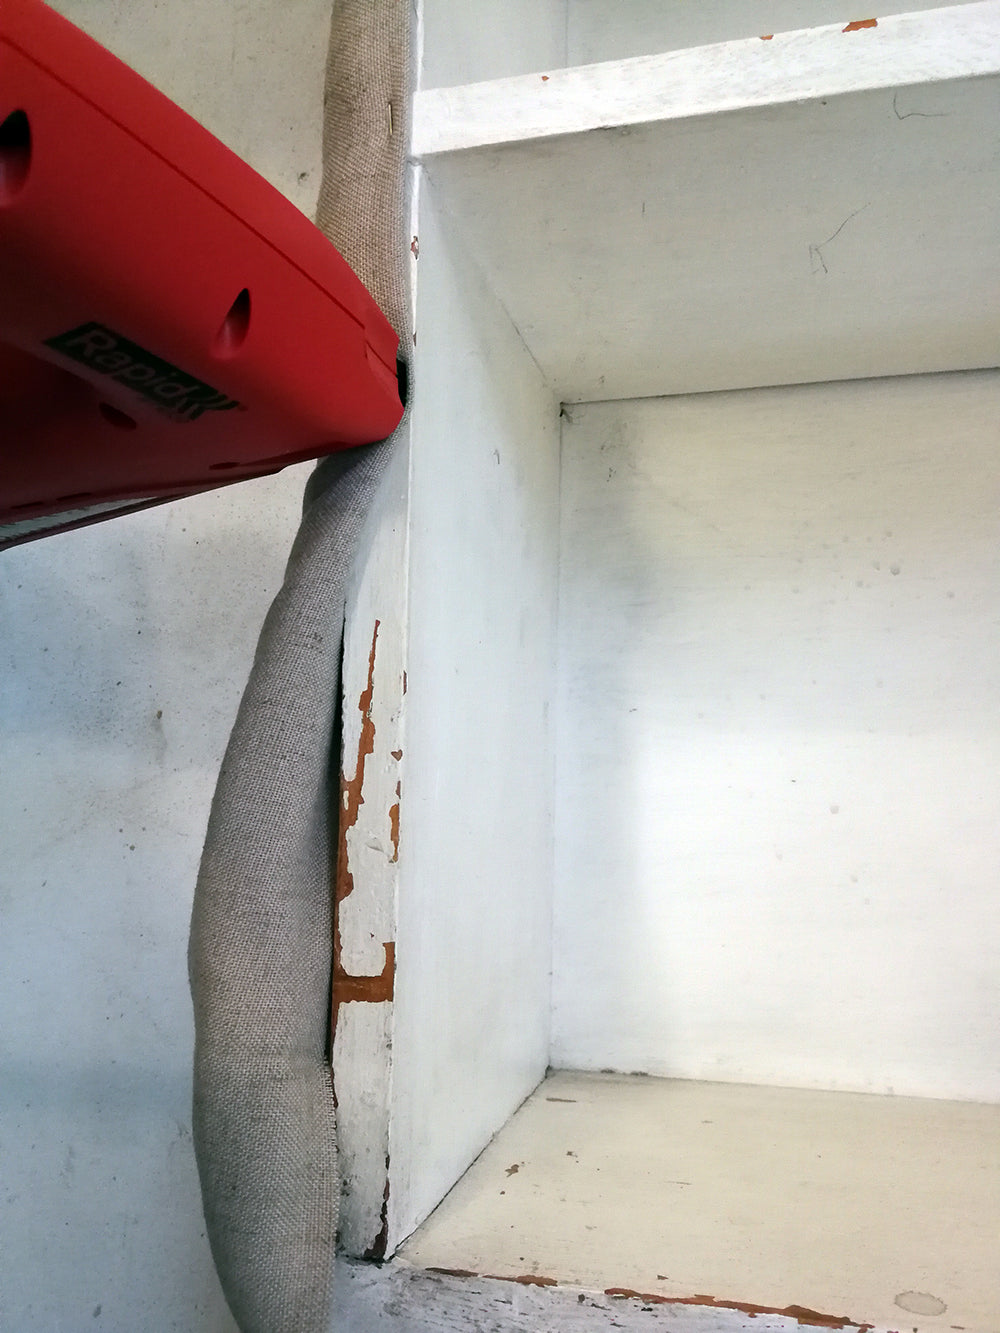
Cover the sides of the base with a layer of wadding and fabric, and use your staple gun to secure it. Be sure to tuck the edges in on the top edge to finish it neatly.
For a professional touch, add a layer of lining to the bottom as well!
Then secure the lid to the base with the hinges.
STEP 11:
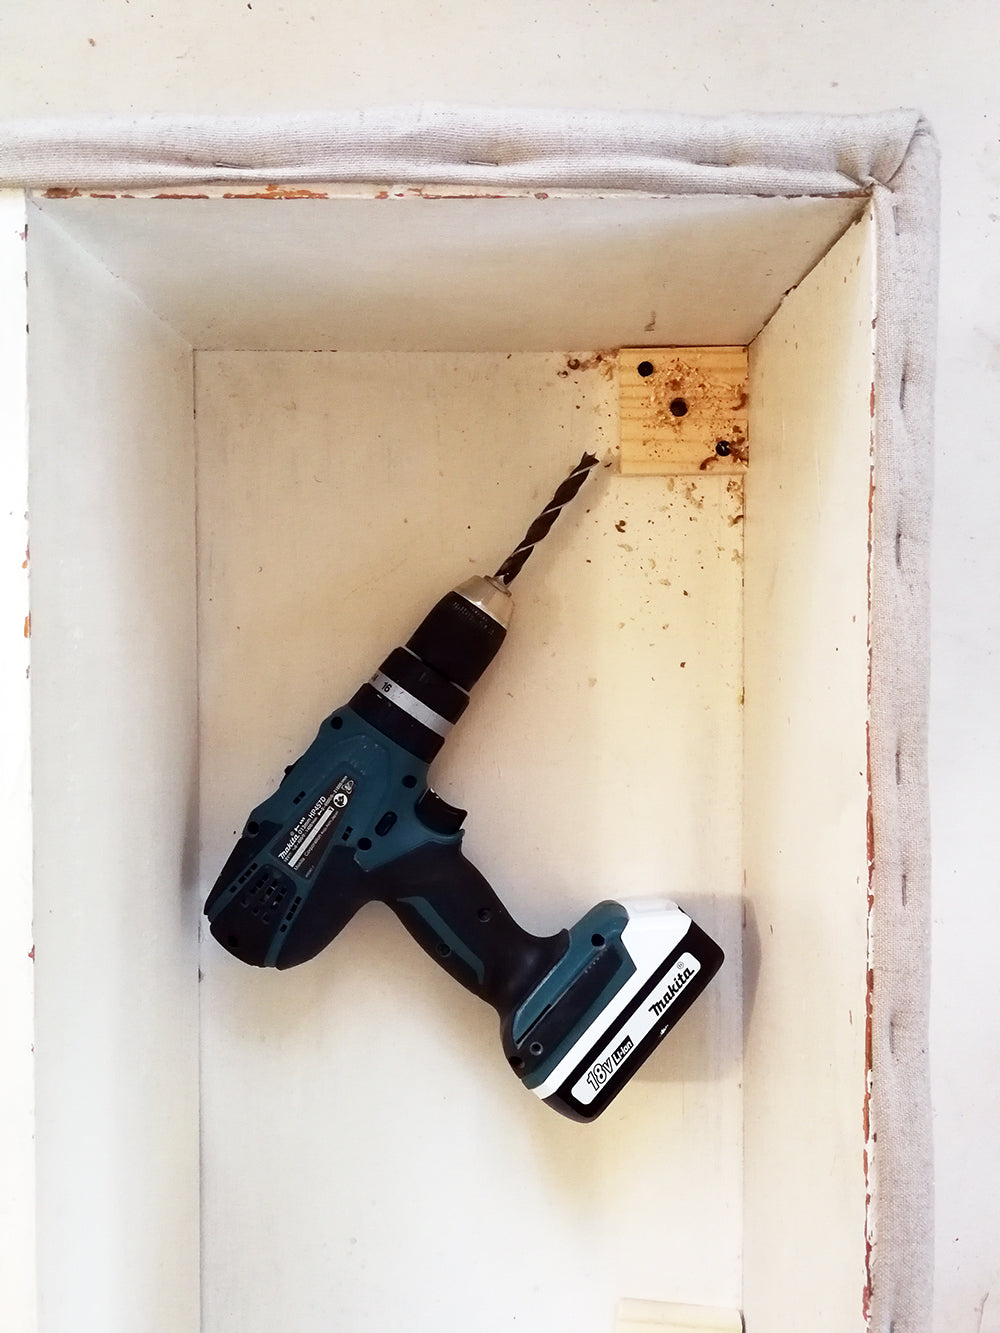
To attach the legs, first add the support blocks on the inside of the base. Then drill holes big enough to take the dowel that’s attached to the finial.
Add a drop of wood glue to the hole before you push in the finial.
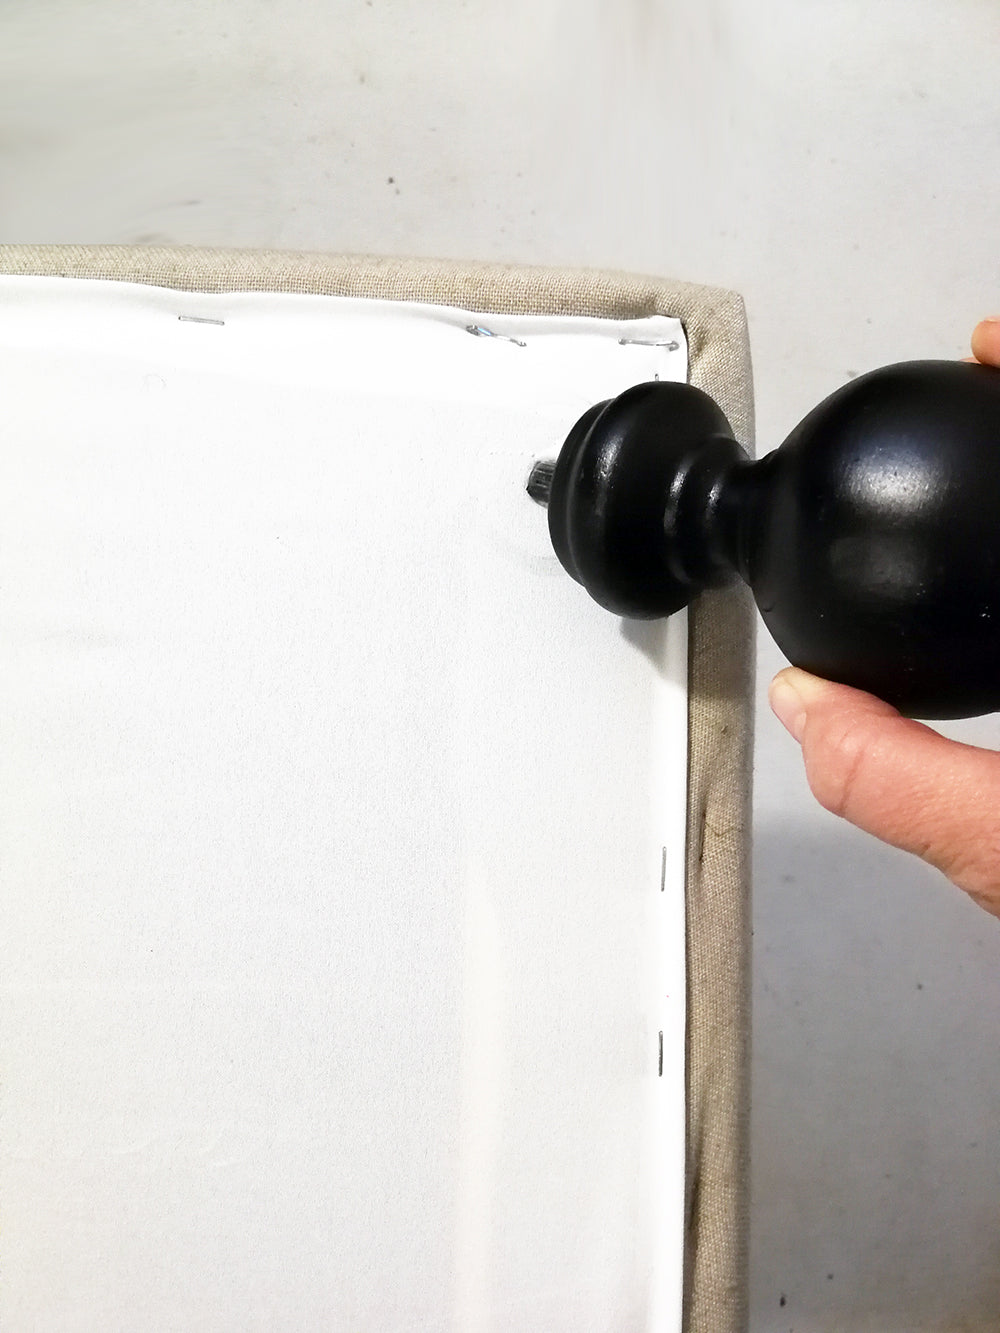
STEP 12:
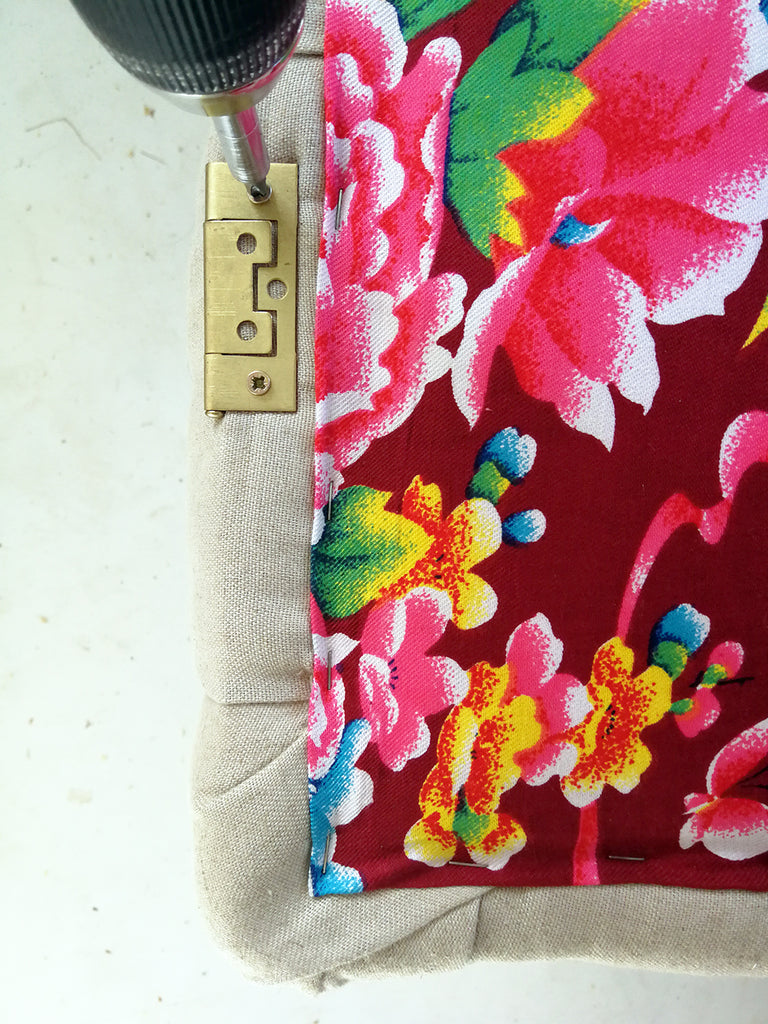
Screw fix the hinges in place and attach them to the lid. The hinges are very discreet, so you can fix them directly through the fabric.
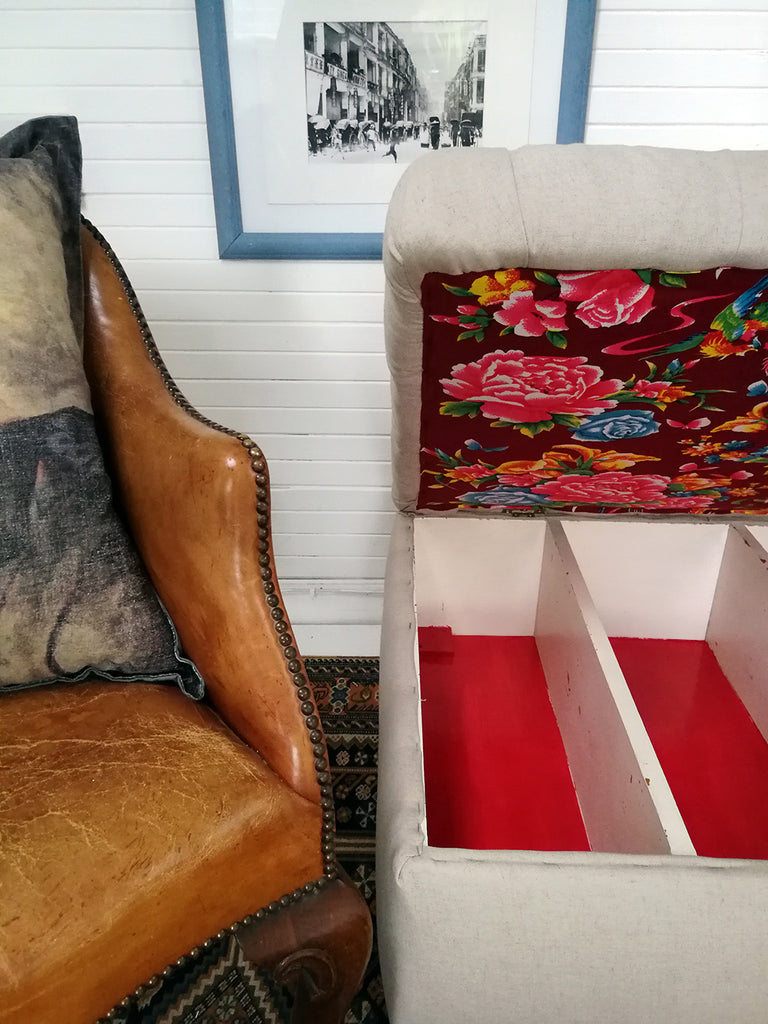

Place some boxes inside and use it for storage!
As you can see, curtain hardware is not just for curtains. We really hope that you like this project - please let us know in the comments below. For more inspiring ideas and projects, visit our blog here!